Adapted from the Epic 40K Battles Book’s Battle 4: Blitzkrieg! scenario, pg. 92-93.
Situation: Force A has punched through the lines of Force B into weakly held territory. The attackers must brush aside the scattered enemy resistance and seize their objectives before fresh defenders arrive.
Forces: Any legal tournament army. We used 4000 points per side.
Set-up: 4 ft. x 6 ft. table was used, played along the short sides. Both players place 3 objective markers each in the defenders area from back edge to 3 ft. in. Next roll 2D6, the high roller is the attacking Force A. Force B will deploy up to ¼ his force hidden (ie, a marker placed on the table indicating the centre of its position. Its position is revealed if it moves, fires or enemy approach within 15cm immediately) anywhere on the table but the far most 20cm. from its table edge. Note that War Engines can be deployed, but not hidden. 1 dummy marker is allowed for each real one.
Force A deploys just off its table edge. All the rest of Force B is in ‘reserve’ and will be deployed before initiative rolls along a table edge turn 2+. On each turn roll 1D6 for each unit to arrive just off board on its table edge, or adjacent edges. Roll 4+ turns 2-3, 3+ turns 4-5. Automatic turn 6. Units that have a speed of 35cm+ gain a +1 to their roll. Units in transport are considered to move at the speed of their transport but must arrive on it. The speed of the unit is determined by its slowest.
Objective: Game length is 6 turns. Normal Tournament objectives are not used. Each side will get 1 victory point for each objective marker it alone has a unit within 10 cm of. Routing units & aircraft cannot be used to claim objectives. The player with the most VPs wins.
A Few words from the sub-commander of the Iron Claws
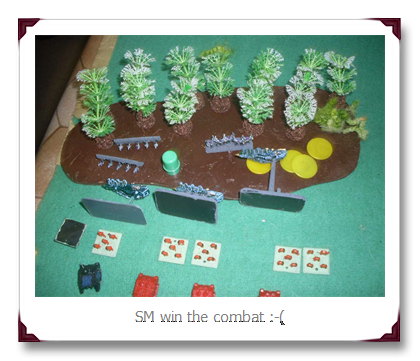
Tonight we had yet another game of Epic A, with Greg playing an Eldar Armor Heavy force and Trent & I the Ironclaw Space Marines. Trent did most of the work while I(Britt) advised plus GM’d a little. The Blitzkrieg scenario proved to be a very close and very bloody encounter. Three units of Marine Scouts and a Warhound sold their lives dearly in an effort to slow down the Eldar Juggernaut so that reinforcements could arrive in time. A real nail biter J
Besides the drama spread before us, we also had a lot of laughs and a very fun game. Some memorable events were:
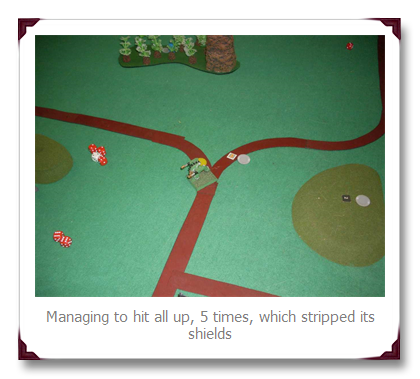
- The Scout unit that actually held its ground for a turn, defeating some Falcons (?)
- The disheartening spectacle of Greg making all those saving rolls. Not as bad as Knights, but still demoralizing. No complains though, as those units of his were VERY expensive giving the SMs more units. Cuts both ways.
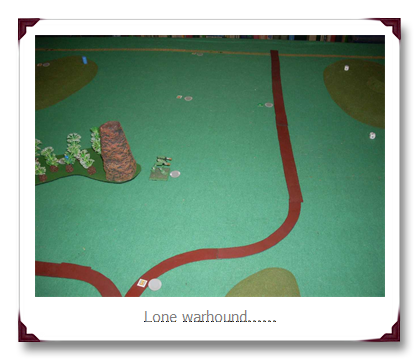
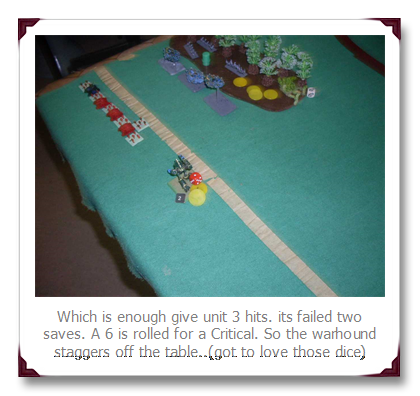
- One of the independent Warhounds being hit, and a critical causes it to leave the table!
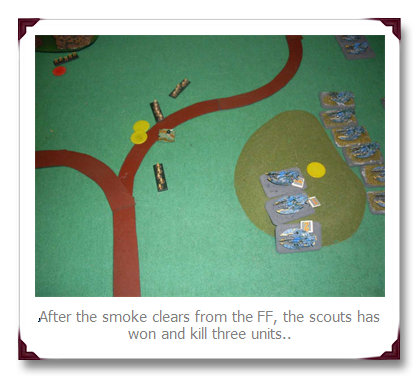
- The death of the Scouts. Heroes all!
- The lack of turn 2 SM reinforcements. Some, but not many arrived, and the ones that did (like the Whirlwinds) being shot up on arrival.
- Good dice luck for both sides tonight. A rare event indeed.
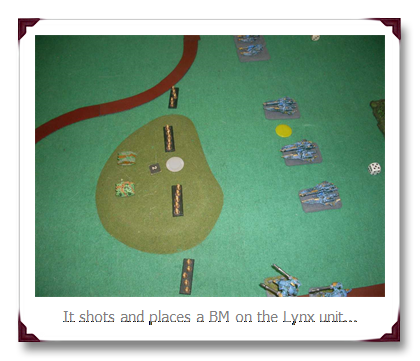
- The speed and maneuverability of the Eldar tanks. The Eldar kept finding holes in the SM line, much to our consternation.
- Greg almost tying the game on the last turn. A ‘1’ activation roll kept him from moving his Revenant Titan to a position where he could dispute or take an objective and deny it to the SMs.
If anyone else plays this out, please let us know how your game went. Great game guys
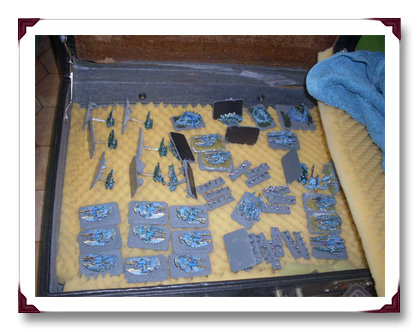
Army List
Codex Astartes (NetEA Tournament Pack 2013)
| SCOUT | 4 Scouts, Razorback, Rhinos | 175 points |
| SCOUT | 4 Scouts, Razorback, Rhinos | 175 points |
| SCOUT | 4 Scouts, Rhinos | 150 points |
| TACTICAL | 6 Tacticals, Razorback, Rhinos | 300 points |
| TACTICAL | 6 Tacticals, Razorback, Rhinos | 300 points |
| TACTICAL | 6 Tacticals, Rhinos | 275 points |
| PREDATOR | 4 Annihilator | 300 points |
| PREDATOR | 4 Annihilator | 300 points |
| PREDATOR | 4 Annihilator | 300 points |
| PREDATOR | 4 Annihilator | 300 points |
| WHIRLWIND | 4 Whirlwind | 300 points |
| WARHOUND PACK | 2 Warhound Class Titans | 500 points |
| WARHOUND | 1 Warhound Class Titan | 275 points |
| WARHOUND | 1 Warhound Class Titan | 275 points |
| WARHOUND | 1 Warhound Class Titan | 275 points |
CRAFTWORLD MYMEARA ARMY LIST
| Guardian Warhost | One Farseer unit, five Guardian units and three Wave Serpents | 275 |
| Guardian Warhost | Autarch, five Guardian units and three Wave Serpents | 325 |
| Swords of Vaul Warhost | Six Warp Hunters | 300 |
| Swords of Vaul Warhost | Six Warp Hunters | 300 |
| Swords of Vaul Warhost | Six Fire Prism | 390 |
| Swords of Vaul Warhost | Six Fire Prism | 390 |
| Lynx Troupe | Three Lynx | 400 |
| Lynx Troupe | Three Lynx | 400 |
| Aspect Warrior Troupe | Six Fire Dragons + Exarch and Six Falcons | 575 |
| Revenants | Two Revenant Titans | 650 |


Deployment
Turn 1
- Eldar go first


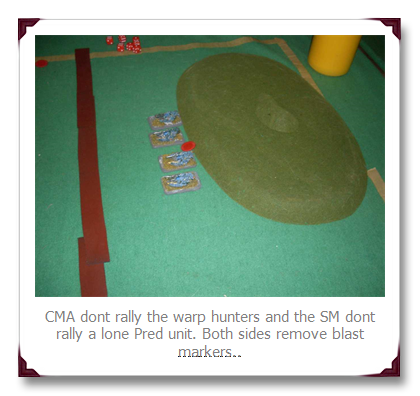
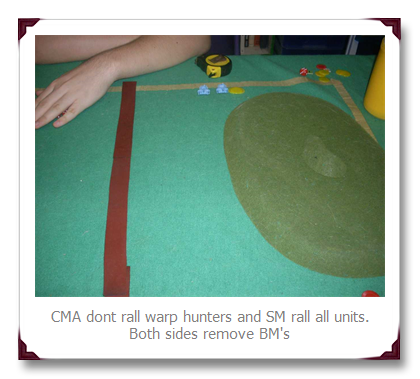
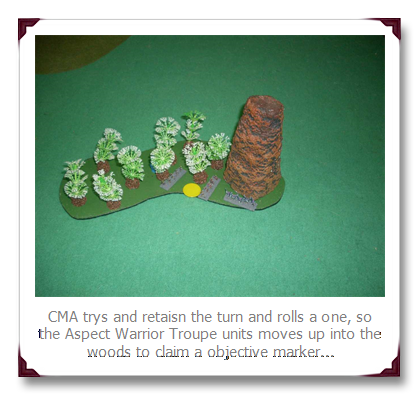
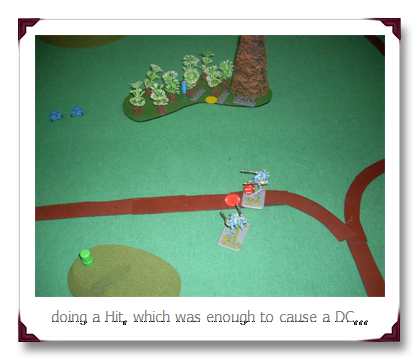
- Both sides rally troops and remove blast markers…..
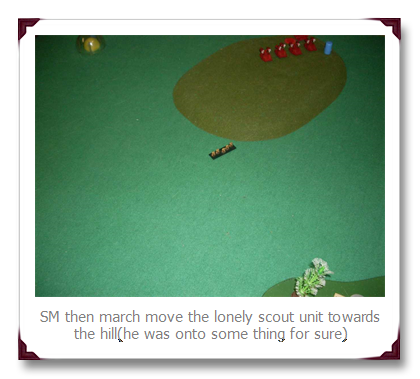
- Following Photo’s cover the unit the SM manage to get on the table as indicated in the setup…………….


- Eldar go first again(after two roll offs)


Turn 3
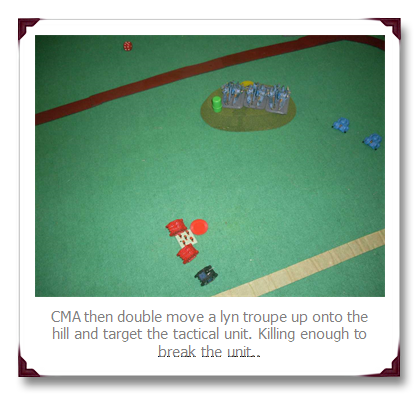
- Following Photo cover the unit the SM manage to get on the table as indicated in the setup…………….

- Eldar go first again…


Turn 4
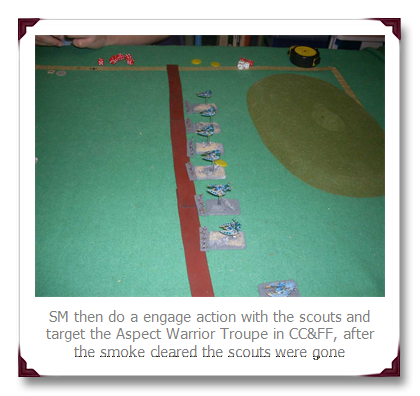
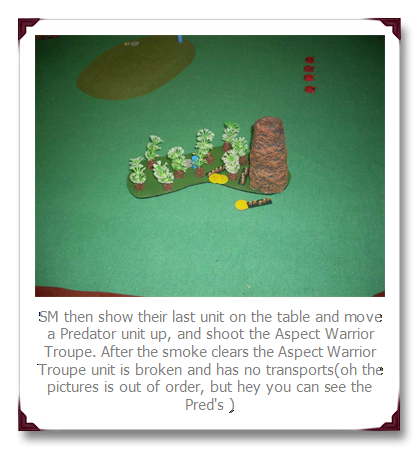
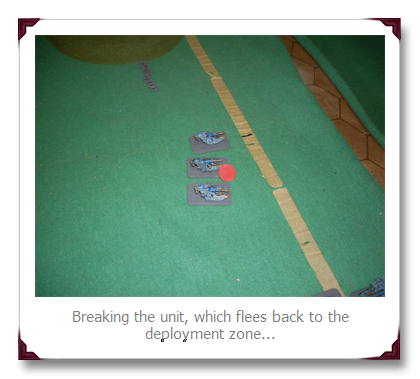
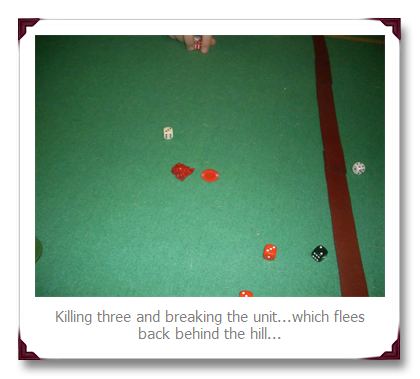
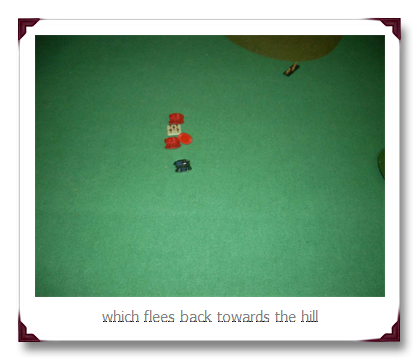
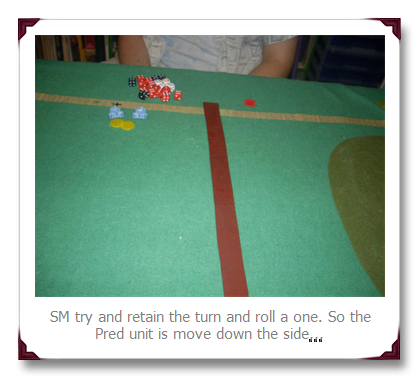
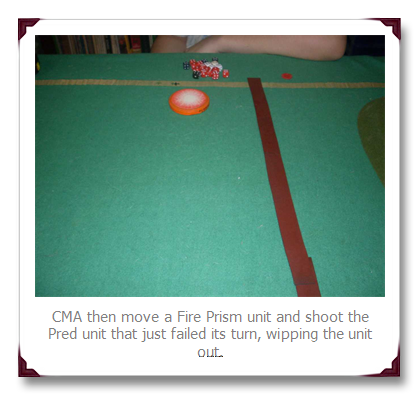
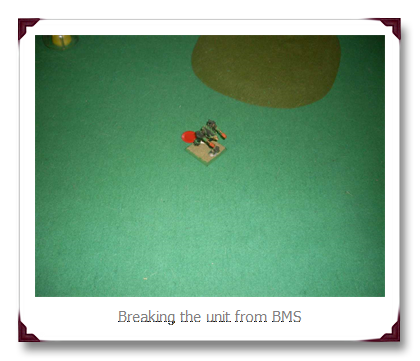
- Following Photo’s cover the unit the SM manage to get on the table as indicated in the setup…………….


- SM go first.


Turn 5
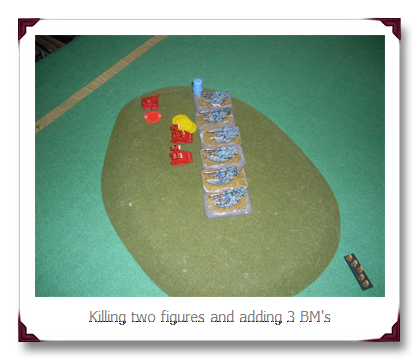
- Following Photo’s cover the unit the SM manage to get on the table as indicated in the setup…………….

- SM goes first


Turn 6
- Following Photo cover the unit the SM manage to get on the table as indicated in the setup…………….

- SM goes first.


- SM win 4/1 the out come……

Regards
Greg
No comments:
Post a Comment